Aside from all the proper adjustments and operating parameters required to gain the most in screening efficiency, the need for good preventive maintenance practices is a must for longer-lasting screens and reliable performance.
Here are eight key components to a solid maintenance program.
The great eight
1. Establish an oil-sampling program. Although a commonly overlooked practice, a regularly scheduled oil sampling is an operator’s best insurance against catastrophic component failure and costly downtime.
The insights provided by samplings – such as detecting a worn bearing – allow operations to schedule maintenance downtime around periods of prime production.
Scheduled sampling and analysis establishes a baseline of normal wear and can help indicate when abnormal wear or contamination occurs.
Oil that has been inside any moving mechanical apparatus for a period of time reflects the exact condition of that assembly. That’s because oil is in contact with mechanical components.
As components wear, trace metallic particles enter the oil. These particles are so small that they remain in suspension. Particles caused by normal wear and operation will mix with the oil, and any externally caused contamination also enters the oil.
Identifying and measuring these impurities indicates the rate of wear, as well as any excessive contamination. Importantly, an oil analysis will also suggest methods to reduce accelerated wear and contamination.
2. Employ recommended lubrication practices. Always consult an owner’s manual for the manufacturer’s recommended lubrication practices. Install the correct amount of oil, and use the recommended type of oil.
Change the oil at the proper intervals, making sure the oil in storage is clean and that clean containers are used to transport the oil. Also, make sure the machine is completely level so oil does not pool at the low side of the machine.
3. Maintain proper belt tension. Belt tensioning must be right on target for optimum screen performance – not too loose and not too tight.
Ideally, belts should only be tight enough so they do not slip during start-up. If necessary, use a belt gauge to set the correct tension. If belts squeal during start-up or operation – or whip excessively – this may indicate insufficient belt tension.
Overtightened belts can cause serious damage, such as pulling the vibrating frame out of square with the support frame. Operating in this twisted position introduces stresses that may lead to spring failure, metal fatigue, or cracking and broken welds.
This twisting affects stroke amplitude and character, which then affect material flow and screening efficiency. Overtightened belts also put an extra load on the mechanism bearings and may tear up motors and motor bases.
Additionally, to prevent drive belts from slipping, flopping or coming off, keep belts and sheaves clean and properly aligned. Inspect sheaves for wear, and if grooves are worn, replace the sheave.
4. Prevent material buildup. Accumulation of dust and stone around moving parts is one of the top causes of part failures – particularly for pivot motor bases, support springs, roller bearings and the vibrating frame.
Impact between the vibrating frame and accumulated material may lead to tower vibrations, as well as potential side sheet and support deck cracking. Note that sheaves and belts are susceptible to material jumping over the side sheets and causing damage. So, where possible, use stationary skirt plates or rubber flaps to deflect airborne material.
It’s also important to avoid material buildup in bins, hoppers and transfer points.
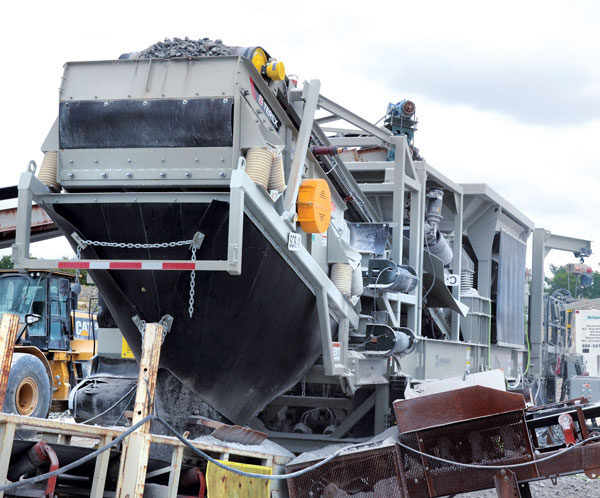
5. Maintain proper screen media support and tensioning. Uniform tension must be maintained on the screen surface to prevent whipping and to maintain contact between the screen surface and the bucker-up rubber on longitudinal support bars. Improper tensioning may cause severe damage to costly screen media. Also, do not operate a vibrating screen with screen cloth or other screen media sections removed, as this will accelerate wear on support frames and longitudinal support bars.
6. Inspect for wear. Inspect cross members for signs of premature wear – especially in wet-screen applications where wear is accelerated.
Cover and protect the cross members, decking and housing tubes with rubber or urethane liners to extend their life. And prior to installing screen media sections, make sure they are appropriately square and flat so they sit properly on longitudinal support bars.
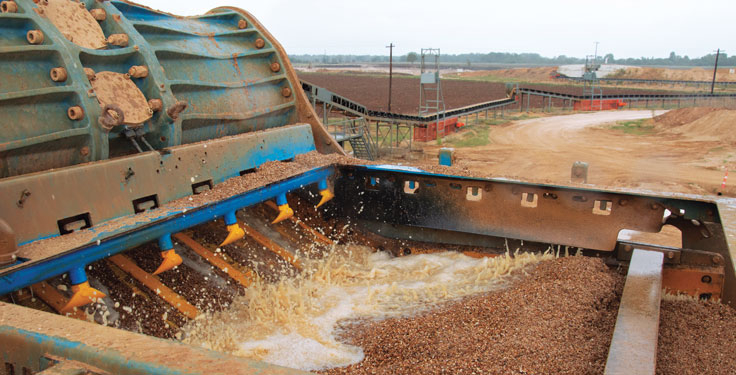
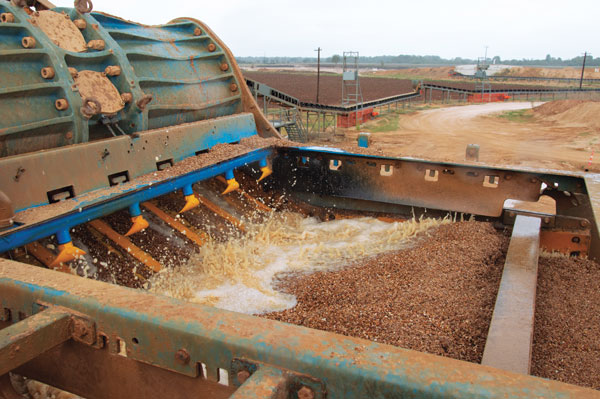
7. Monitor spray systems. Use the required number of spray nozzles, and make sure they are open and fully operational. Also, maintain the proper water volume and pressure.
Avoid spraying perpendicularly (at 90 degrees) to the screen surface, as this may result in a rapid deterioration of the screening surface. The spray should strike the screening surface at about 45 degrees.
Nozzles can be positioned to spray against or with the flow of material. The choice depends upon the desired washing and rinsing efficiency, as well as material properties.
For most applications, a pressure of about 40 pounds per square inch at the nozzles is desired.
8. Operate with proper clearances. Maintain adequate clearances around stationary structures, and never allow vibrating frames to hit stationary structures.
Also, wherever possible, provide a minimum of 24-in. side clearance on each side of the machine. This enables operators to adjust screen cloth tension and check the unit’s condition and operation.
Allow sufficient clearance in front of the screen at the discharge end, or in the rear at the feed end, for replacing screen sections. Set the clearance at least 1 ft. longer than the longest screen panel. Maintain a minimum vertical clearance of at least 5 in. between the vibrating frame and any stationary structures such as the feed hopper or discharge chutes and bins.
Additionally, avoid providing places for dust and stone to accumulate and interfere with the movement of the vibrating frame.
Information for this article originated in Pit & Quarry University.

